DStv Explora Ultra Installation: The Complete Technical Guide for Gauteng Homes (2026)
A proper DStv Explora Ultra installation is more involved than simply plugging in a decoder, and understanding what the process requires will save you time, money, and signal frustration. Most households are surprised to learn that the Explora Ultra can store up to 110 hours of recorded content on its built-in PVR, which means the installation must be configured correctly from the outset so every byte of that capacity is accessible and reliable. At DSTV Pro Installers, we handle the full setup across 28 Gauteng suburbs, and our accredited Explora installation service covers every technical step from dish mounting to streaming configuration.
Key Takeaways
- Dish size matters: The Explora Ultra requires an 80cm satellite dish paired with a DStv Smart LNB for reliable signal acquisition.
- Full installation cost in Gauteng (2026): Ranges from R2,450 (upgrade on existing Smart LNB dish) to R3,950 (full dish, LNB, cabling, and decoder setup).
- Streaming requires internet: Catch Up, BoxOffice, Netflix, and Showmax on the Explora Ultra all require a live internet connection; satellite signal alone is not sufficient.
- Same-day service is available: DSTV Pro Installers offers same-day dstv installation across Gauteng for bookings confirmed before the daily cut-off time.
- 12-month workmanship warranty: All installations completed by our technicians carry a 12-month warranty on labour and cable routing.
- Extra View is supported: The Explora Ultra can link additional decoders for independent multi-room viewing, requiring specific Smart LNB UniCable outputs.
- 4K, HDR, and Dolby Atmos: These output modes are only activated when the decoder is connected to compatible display and audio equipment during the setup process.
What Is the DStv Explora Ultra and Why Does Installation Quality Matter?
The DStv Explora Ultra is the flagship satellite decoder in the DStv range as of 2026, combining PVR recording, 4K output, HDR support, Dolby Atmos audio, and built-in streaming app access in a single unit. Its hardware capability is significantly higher than older Explora models, which means the installation infrastructure must match its technical demands.
A substandard dish alignment or incorrect LNB type will limit signal quality and prevent the decoder from operating at full capacity. This is why using experienced dstv installers who understand the Explora Ultra's specific requirements is critical, not optional.
The decoder's streaming features also introduce a network configuration layer that older installations never required. Our dstv technician team addresses both the satellite side and the Wi-Fi or LAN side during every Explora Ultra setup to ensure a complete and functional system.
DStv Explora Ultra Installation Requirements: Dish, LNB, and Cabling
Before any installation begins, the physical hardware requirements must be confirmed on-site. The Explora Ultra is not compatible with all existing dish and LNB configurations, so a pre-installation assessment is part of every job we complete.
The minimum hardware specifications for a correct DStv Explora Ultra installation are as follows:
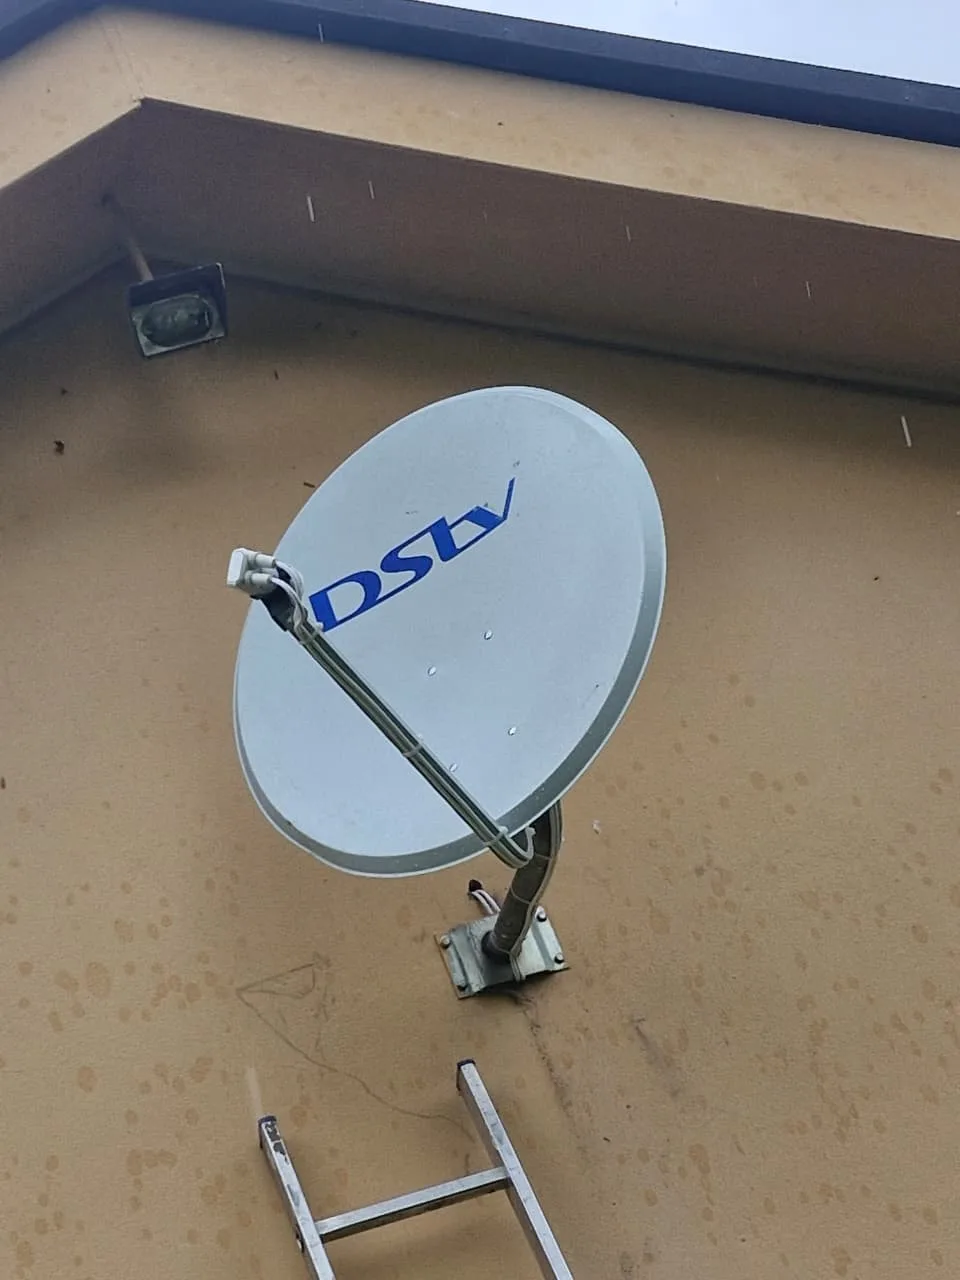
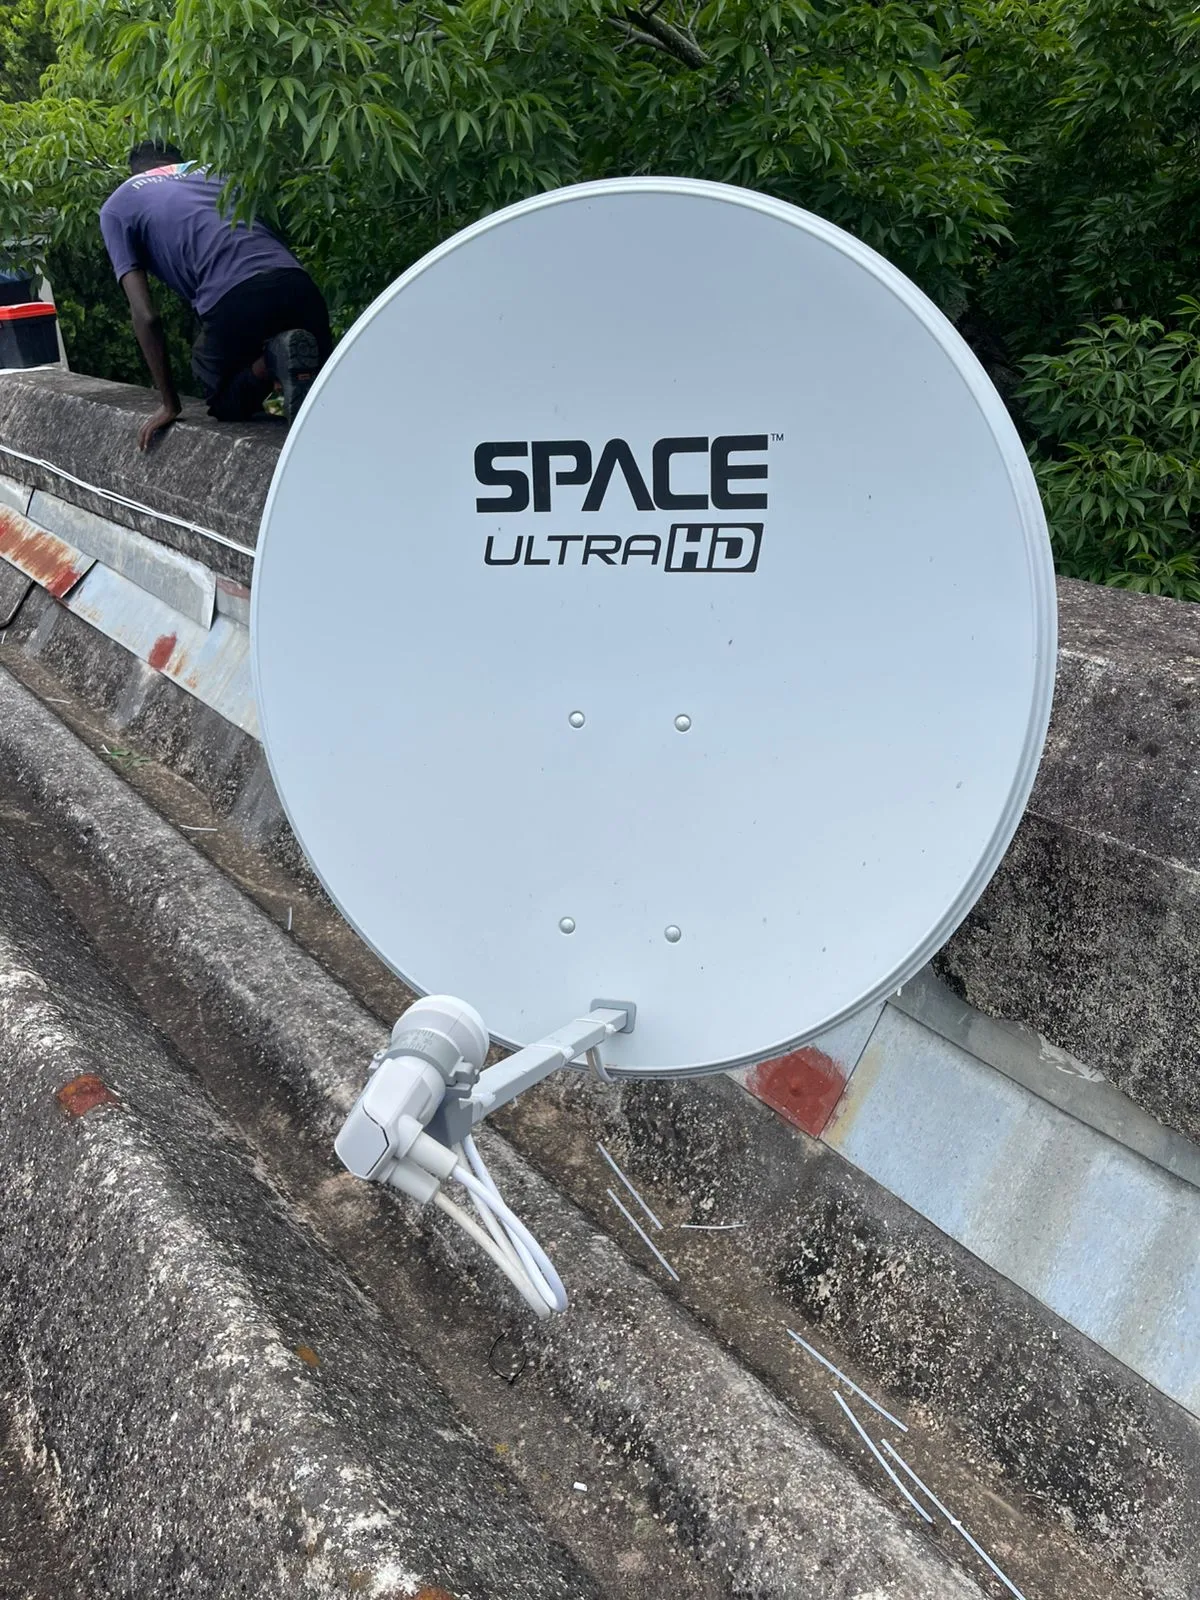
- Satellite dish: 80cm offset dish, correctly oriented toward the Intelsat 20 satellite at 68.5 degrees East
- LNB type: DStv Smart LNB (Universal Single, Twin, or Quattro depending on the number of decoders)
- Cabling: RG-6 coaxial cable with F-type connectors throughout; no splitters without proper diplexers
- Power supply: A stable wall outlet near the decoder position; the Explora Ultra must not share a circuit with high-draw appliances
- HDMI cable: HDMI 2.0 or higher for 4K and HDR output to compatible displays
- Internet connection: Cat5e or Cat6 LAN cable (preferred) or a stable 5GHz Wi-Fi signal for Catch Up and streaming apps
If your property already has an 80cm dish and a Smart LNB installed, an upgrade to the Explora Ultra can be completed without replacing the dish. Our dstv installers will assess the existing setup and advise on whether the current infrastructure is compatible before beginning any work.
Step-by-Step DStv Explora Ultra Installation Process
A structured installation sequence reduces errors and ensures every system component is tested before the technician leaves the property. Below is the technical process our team follows on every dstv explora ultra installation.
- Site survey: The technician identifies the optimal dish mounting position with an unobstructed line of sight to the satellite at 68.5 degrees East, free of trees, walls, and overhangs.
- Dish and bracket mounting: The 80cm dish is secured to the selected surface (roof, fascia, or wall) using stainless steel hardware rated for the load and wind conditions.
- Smart LNB fitting: The correct Smart LNB is fitted and connected to the dish arm, with the skew angle adjusted for the installation location's latitude.
- Cable routing: RG-6 coaxial cable is routed from the dish to the decoder position using conduit or trunking where exposed, with minimal bends and no kinked cable runs.
- Signal alignment and peaking: Using a calibrated signal meter, the dish is adjusted on both azimuth and elevation axes until the signal quality reaches 90% or above on the reference transponder.
- Decoder connection: The Explora Ultra is connected via coaxial F-connector, HDMI to the television, and either LAN or Wi-Fi to the home network.
- Pairing and activation: The decoder is paired to the subscriber's DStv account, all subscribed channels are confirmed active, and the system clock and recording preferences are configured.
- Streaming app configuration: Catch Up, BoxOffice, and any third-party apps (Netflix, Showmax) are logged in and tested over the internet connection.
- Final verification: Channel scan, signal stability check, recording test, and playback verification are completed before the technician closes out the job.
A visual guide outlining the essential steps to install the DSTV Explora Ultra receiver, from dish alignment to testing.
DStv Explora Ultra Installation Pricing in Gauteng (2026)
Pricing for a DStv Explora Ultra installation in Gauteng depends on whether the property has an existing compatible dish and LNB or requires a complete new setup. The table below outlines the current pricing structure used by DSTV Pro Installers in 2026.
| Service | Price (ZAR) |
|---|---|
| Explora Ultra upgrade (existing Smart LNB dish) | R2,450 |
| Full installation (dish + Smart LNB + cabling + decoder setup) | R3,950 |
| Extra View decoder linkage | R900 - R1,500 |
| Satellite dish alignment (existing dish) | R650 - R950 |
| Extra TV point (additional room outlet) | R800 - R1,400 |
| Decoder replacement (swap and pairing) | From R850 |
All prices include labour, a standard cable run, and a 12-month workmanship warranty. Additional costs may apply for extended cable runs, conduit, or non-standard mounting surfaces. Contact us on 0774544032 for a confirmed quote before booking.
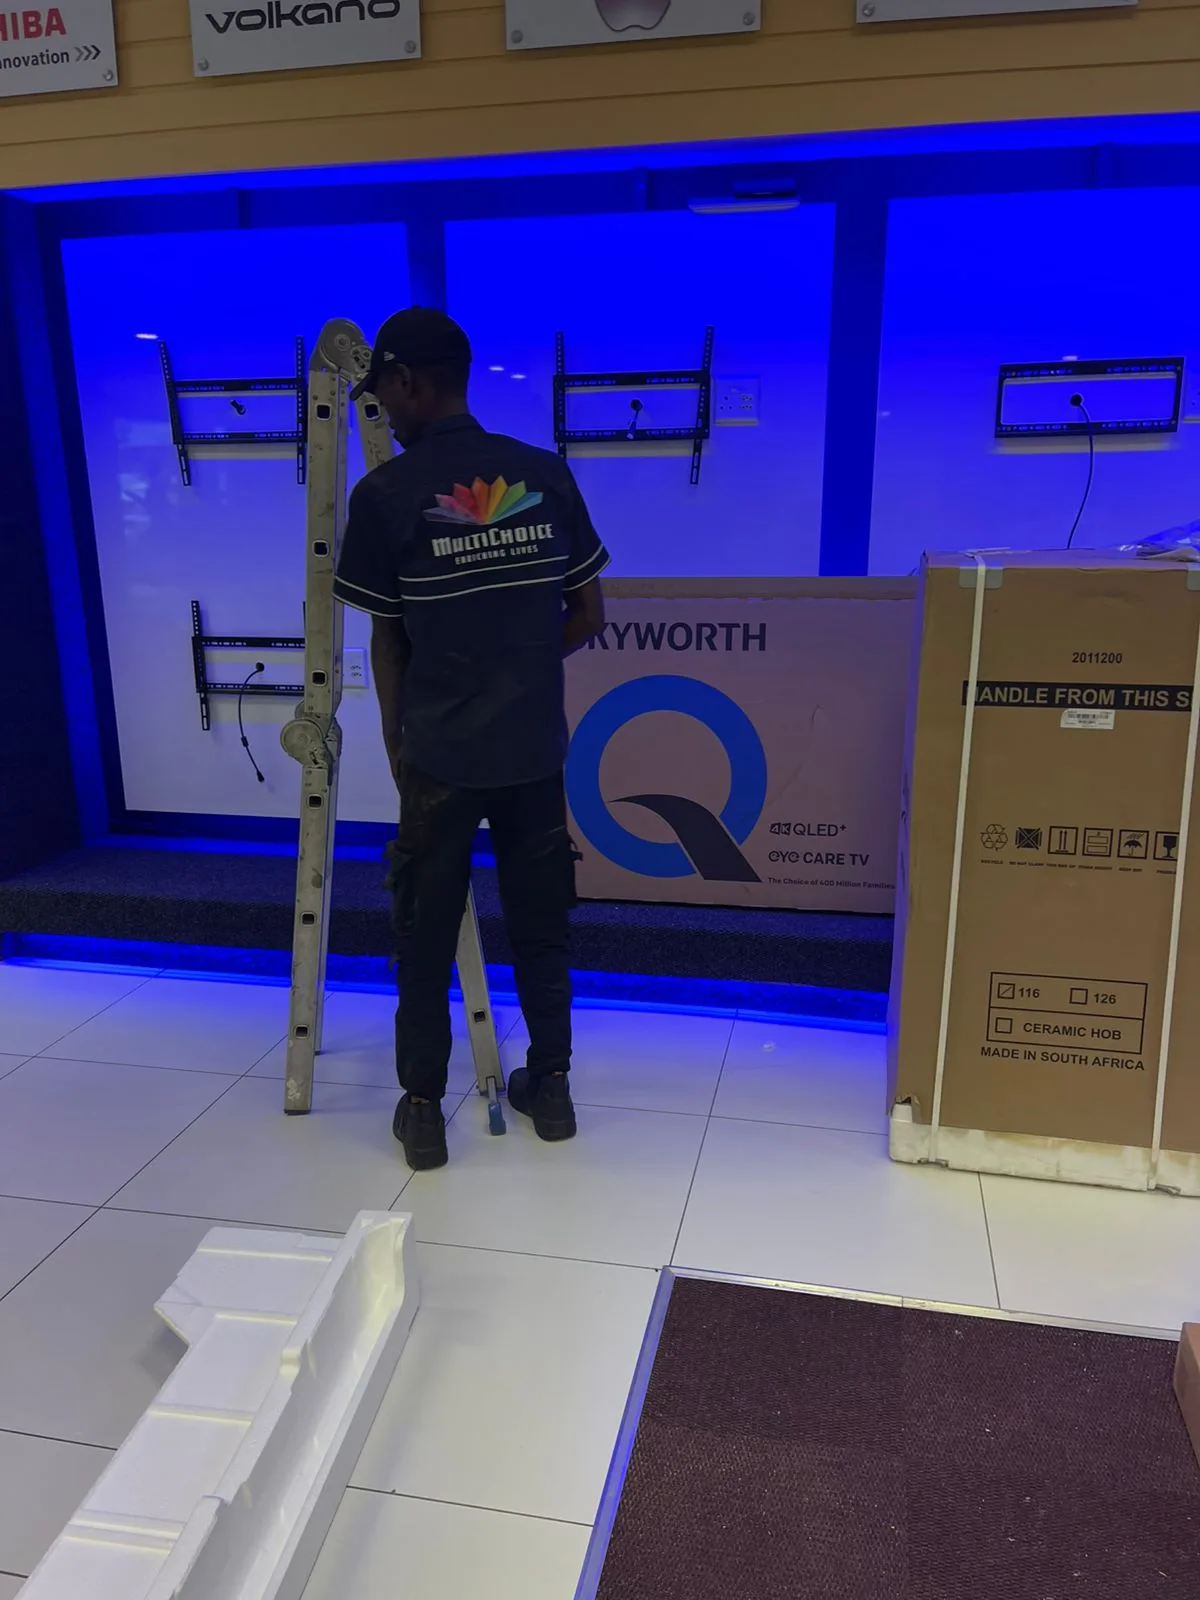
What Our DStv Technician Does During an Explora Ultra Setup
The role of a qualified dstv technician during an Explora Ultra setup goes well beyond connecting a cable. Every installation involves active signal measurement, hardware configuration, and system-level verification that a non-accredited installer is not equipped to perform.
Our dstv technician team is accredited, which means each technician carries a valid installer number recognised by MultiChoice. This accreditation is a requirement for warranty-backed installations and for decoder pairing on the MultiChoice platform.
During a standard Explora Ultra installation, our technician will:
- Confirm site suitability and line-of-sight clearance before mounting any hardware
- Use a calibrated satellite signal meter (not a TV signal indicator) for accurate alignment
- Terminate all coaxial connections with compression F-connectors, not push-on fittings
- Test each cable run for continuity and correct impedance before connecting the decoder
- Verify that the Smart LNB firmware is current and compatible with the Explora Ultra
- Configure the decoder's network settings and confirm internet connectivity
- Test Catch Up, a live recording, and playback from the PVR before signing off
If you need to compare the Explora and Explora Ultra before committing to an installation, our 2026 Explora vs Explora Ultra buyer's guide covers the technical differences in detail.
Wi-Fi, Streaming, and Network Configuration During DStv Installation
The Explora Ultra is designed to operate as both a satellite receiver and a streaming platform. This dual function means that a complete dstv installation must include a network configuration step, not only the dish and cable work.
Catch Up, BoxOffice on Demand, Netflix, Showmax, and YouTube all require a live internet connection through the decoder. The Explora Ultra supports both Wi-Fi (2.4GHz and 5GHz) and wired LAN connectivity.
We recommend a wired Cat6 LAN connection where possible, as it provides lower latency and more consistent throughput than Wi-Fi for 4K streaming content. Where a wired connection is not practical, a 5GHz Wi-Fi band with a strong signal at the decoder location is the preferred alternative.
During every dstv installation we complete, our technician confirms that the decoder successfully connects to the home network and that at least one Catch Up title loads before marking the job complete. This step is non-negotiable because it confirms the decoder's internet registration with MultiChoice's servers.
For guidance on planning your installation correctly, our installation guides and tips resource covers common cabling, dish, and network considerations for Gauteng homes.
Extra View and Multi-Room Setup with the DStv Explora Ultra
The Explora Ultra supports Extra View, which allows a second or third decoder to be linked to the primary unit for independent viewing in multiple rooms. This feature requires specific planning during the dstv explora ultra installation because the Smart LNB must have sufficient UniCable outputs for each connected decoder.
Each decoder in an Extra View configuration requires its own dedicated UniCable channel from the Smart LNB. A standard Smart LNB supports up to four outputs, which accommodates most residential multi-room setups.
Our Extra View installation service includes the physical cabling between rooms, the decoder linkage configuration, and testing of each room's channel list independently. Pricing for Extra View setup ranges from R900 to R1,500 depending on the cable routing distance and number of rooms involved.
If you only need signal extended to an additional room without a second decoder, our team also offers an extra TV point installation service that adds a coaxial outlet to any room with neat cabling and a tested signal.
Why Use Accredited DStv Installers for Your Explora Ultra?
Using accredited dstv installers for an Explora Ultra setup is not simply a preference. It is a technical and contractual requirement for a valid installation that protects both the decoder warranty and the subscriber's account integrity on the MultiChoice platform.
Non-accredited installers cannot pair an Explora Ultra to a subscriber account on the MultiChoice system. Incorrect pairing results in the decoder displaying a "not authorised" error, which prevents channel access even with an active subscription.
At DSTV Pro Installers, all our technicians carry valid accreditation numbers and complete installations to the MultiChoice technical standard. Our service covers 28 suburbs across Gauteng, and same-day bookings are available for most areas when confirmed before the daily cut-off.
If a decoder has already been incorrectly installed or a previous installation has failed, our decoder replacement and re-pairing service can resolve the issue with a same-day swap and full configuration. Call us directly on 0774544032 to book or to confirm same-day availability in your suburb.
Satellite Dish Alignment: The Most Critical Step in Any DStv Installation
Signal alignment is the technical foundation of every dstv installation, and it is the step most frequently performed incorrectly by unqualified installers. A dish that is even slightly misaligned produces marginal signal quality, which causes pixelation, audio dropouts, and complete signal loss during adverse weather.
The Explora Ultra is a high-performance decoder, and its capabilities are directly limited by the signal quality it receives from the satellite. A dish aligned to 85% signal quality will not deliver the same channel stability as one aligned to 92% or higher.
Our satellite dish alignment service uses calibrated meters to achieve peak signal on the reference transponder, with verification across multiple transponders before the job is signed off. This service is available as a standalone call-out for R650 to R950, or it is included as part of every full dstv explora ultra installation we complete.
If you are experiencing intermittent signal loss or regular E48-32 errors on your existing setup, a dish re-alignment is typically the most cost-effective first step before considering decoder replacement. Our dstv technician team can diagnose the cause of signal errors on-site and advise on the correct resolution.
Conclusion
A complete DStv Explora Ultra installation requires correct hardware (80cm dish, Smart LNB, RG-6 cabling), precise signal alignment, decoder pairing by an accredited technician, and a confirmed internet connection for streaming features to function. Cutting corners on any of these steps results in a system that does not deliver the Explora Ultra's full technical capability.
At DSTV Pro Installers, we carry out every dstv explora ultra installation to the MultiChoice technical standard, with a 12-month workmanship warranty and same-day availability across 28 Gauteng suburbs. Whether you need a full new setup, an upgrade on an existing dish, or an Extra View multi-room configuration, our Gauteng Explora installation team is equipped to complete the job correctly the first time.
To book a dstv installation or to get a quote for your specific property, call us on 0774544032 or visit our contact page to submit a booking request online.
Frequently Asked Questions
What dish size do I need for a DStv Explora Ultra installation?
The DStv Explora Ultra requires a minimum 80cm offset satellite dish paired with a DStv Smart LNB. Using a smaller dish or a standard single LNB will result in insufficient signal quality and will prevent some features from functioning correctly.
How long does a DStv Explora Ultra installation take?
A full dstv explora ultra installation including dish mounting, alignment, cabling, decoder pairing, and streaming setup typically takes between 2 and 4 hours on-site. Properties with longer cable runs or difficult mounting positions may require additional time.
Can I upgrade from an older DStv Explora to the Explora Ultra without replacing the dish?
If your existing dish is 80cm and is fitted with a DStv Smart LNB, an upgrade to the Explora Ultra can typically be completed without replacing the dish. Our dstv technician will assess the current setup before beginning any work to confirm compatibility.
Does the DStv Explora Ultra work without an internet connection?
The Explora Ultra will receive live satellite channels without an internet connection, but Catch Up, BoxOffice on Demand, Netflix, Showmax, and YouTube all require a live internet connection. A complete dstv explora ultra installation should always include network configuration for full functionality.
Is it worth installing the DStv Explora Ultra in 2026?
In 2026, the Explora Ultra remains the most capable decoder in the DStv lineup, offering 4K output, HDR, Dolby Atmos, 110 hours of PVR recording, and integrated streaming apps. For households with a 4K television and a reliable internet connection, it is technically the most complete single-unit solution available.
What happens if my DStv Explora Ultra installation signal keeps dropping?
Intermittent signal loss after a dstv installation is most commonly caused by dish misalignment, a faulty or incorrect LNB, or a compromised coaxial connection. A qualified dstv technician should diagnose the fault on-site using a signal meter rather than relying on the decoder's on-screen signal indicator, which is not accurate enough for fault finding.
How much does a DStv Explora Ultra installation cost in Gauteng in 2026?
A dstv explora ultra installation in Gauteng costs from R2,450 for an upgrade on an existing compatible dish, or R3,950 for a complete new installation including the dish, Smart LNB, cabling, and decoder setup. Additional services such as Extra View linkage or extra TV points are priced separately. Call DSTV Pro Installers on 0774544032 for a confirmed quote.
Keep reading
In case you missed it
Planning a job? See accredited decoder replacement. Or browse our accredited Centurion DSTV installers and DSTV installer in Vorna Valley pages.
More to read: our guide: align dstv dish after highveld storms.